CU 편의점 음식 추천 - 닭갈비 철판 볶음밥, 맛과 비쥬얼 후기!
오늘은 CU 편의점 음식 추천을 하고자 합니다.
CU 편의점 기프티콘이 생겨서 편의점 간편식을 구매해봤습니다.
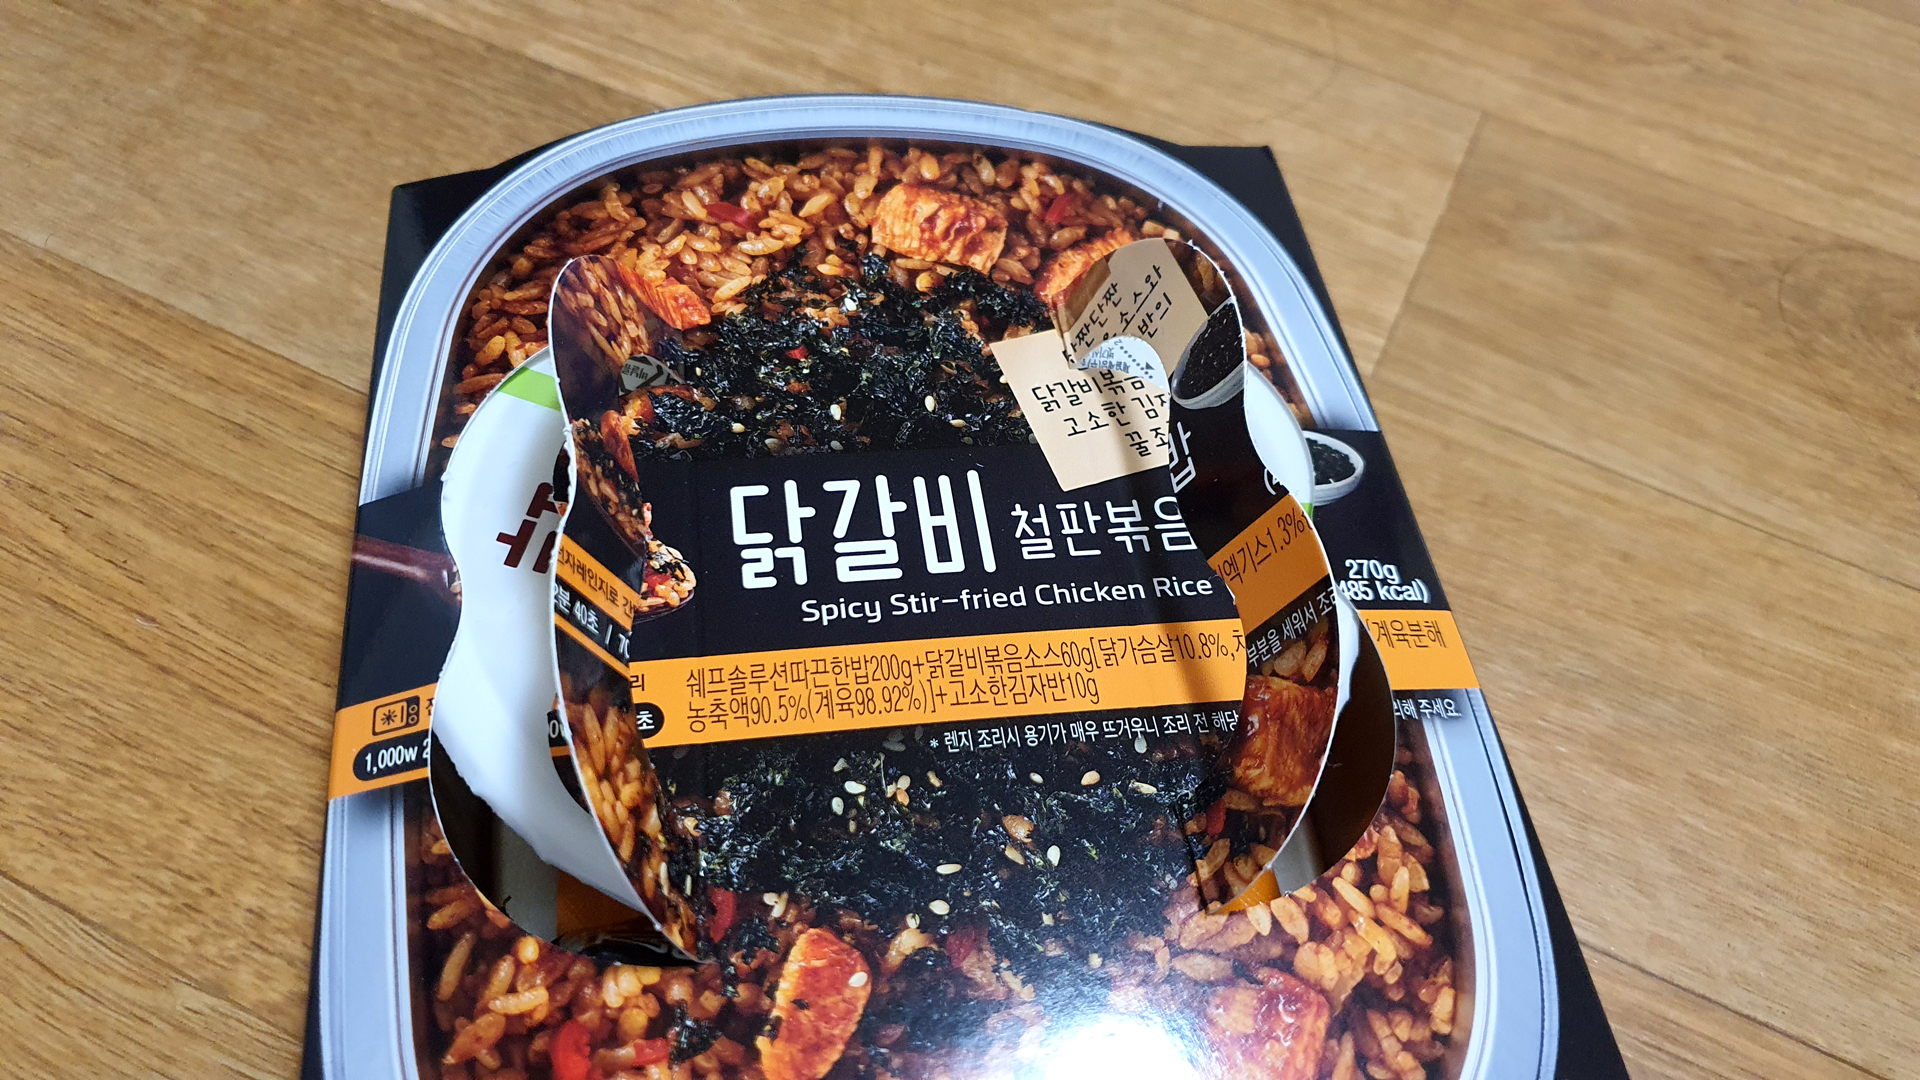
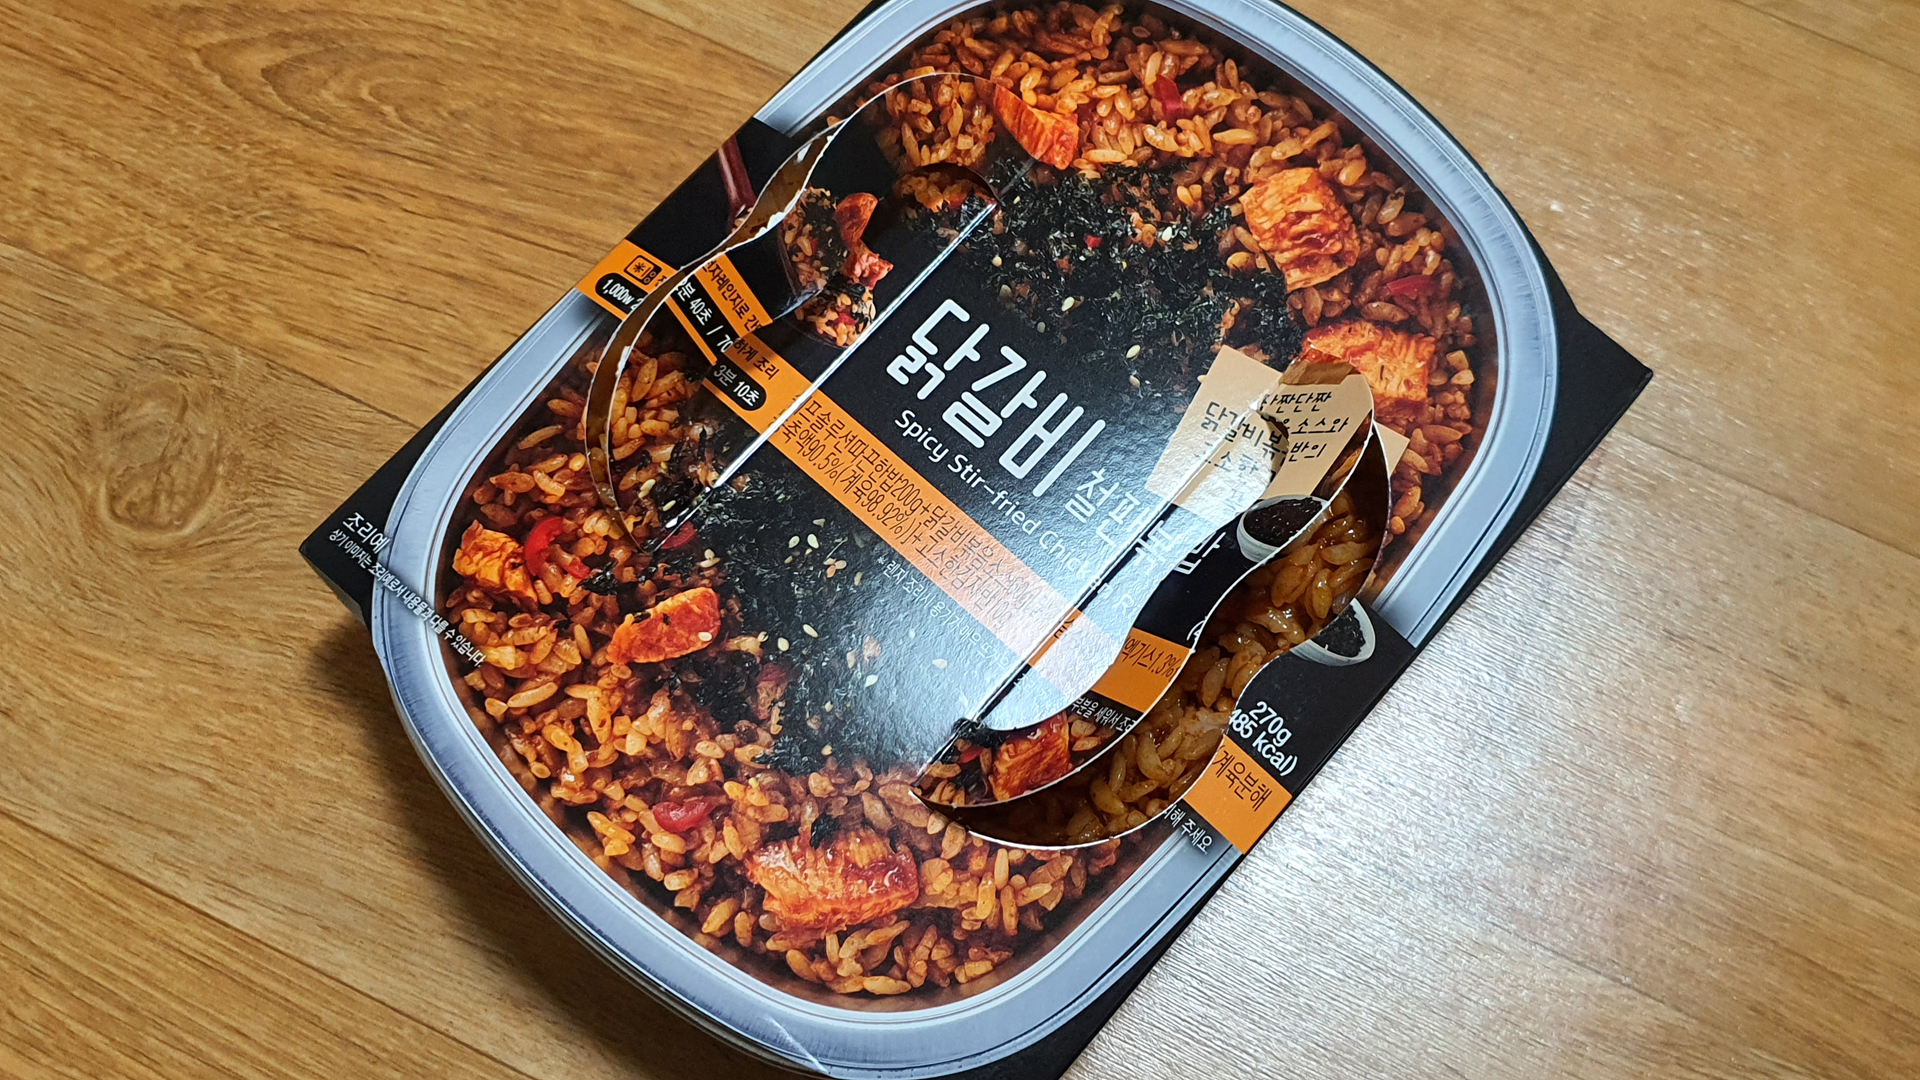
제가 이번에 구입한 것은 CU 닭갈비 철판 볶음밥입니다.

닭갈비철판볶음밥!~~
가격은 3,500원이었습니다.
생각보다 저렴한 가격에 놀랐어요.
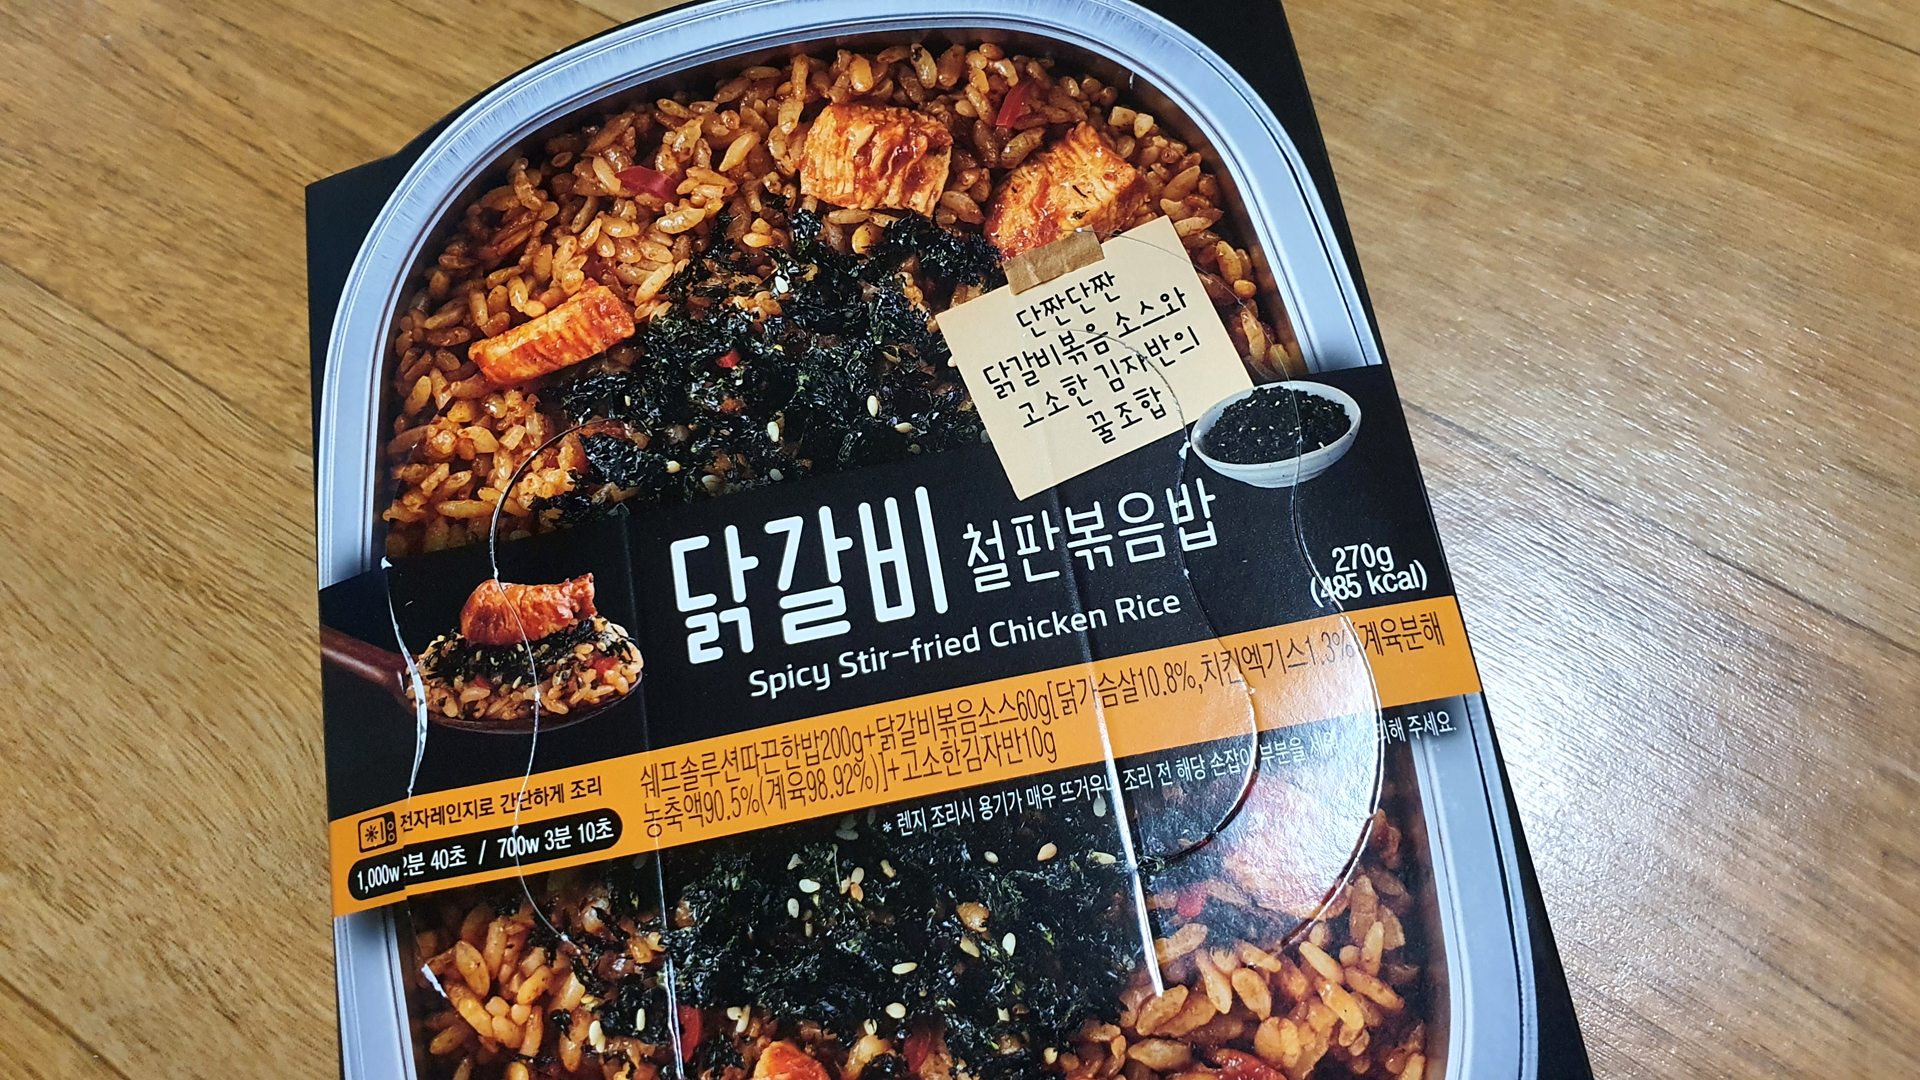
단짠단짠 닭갈비볶음 소스와 고소한 김자반의 꿀조합이라고 적혀 있네요.
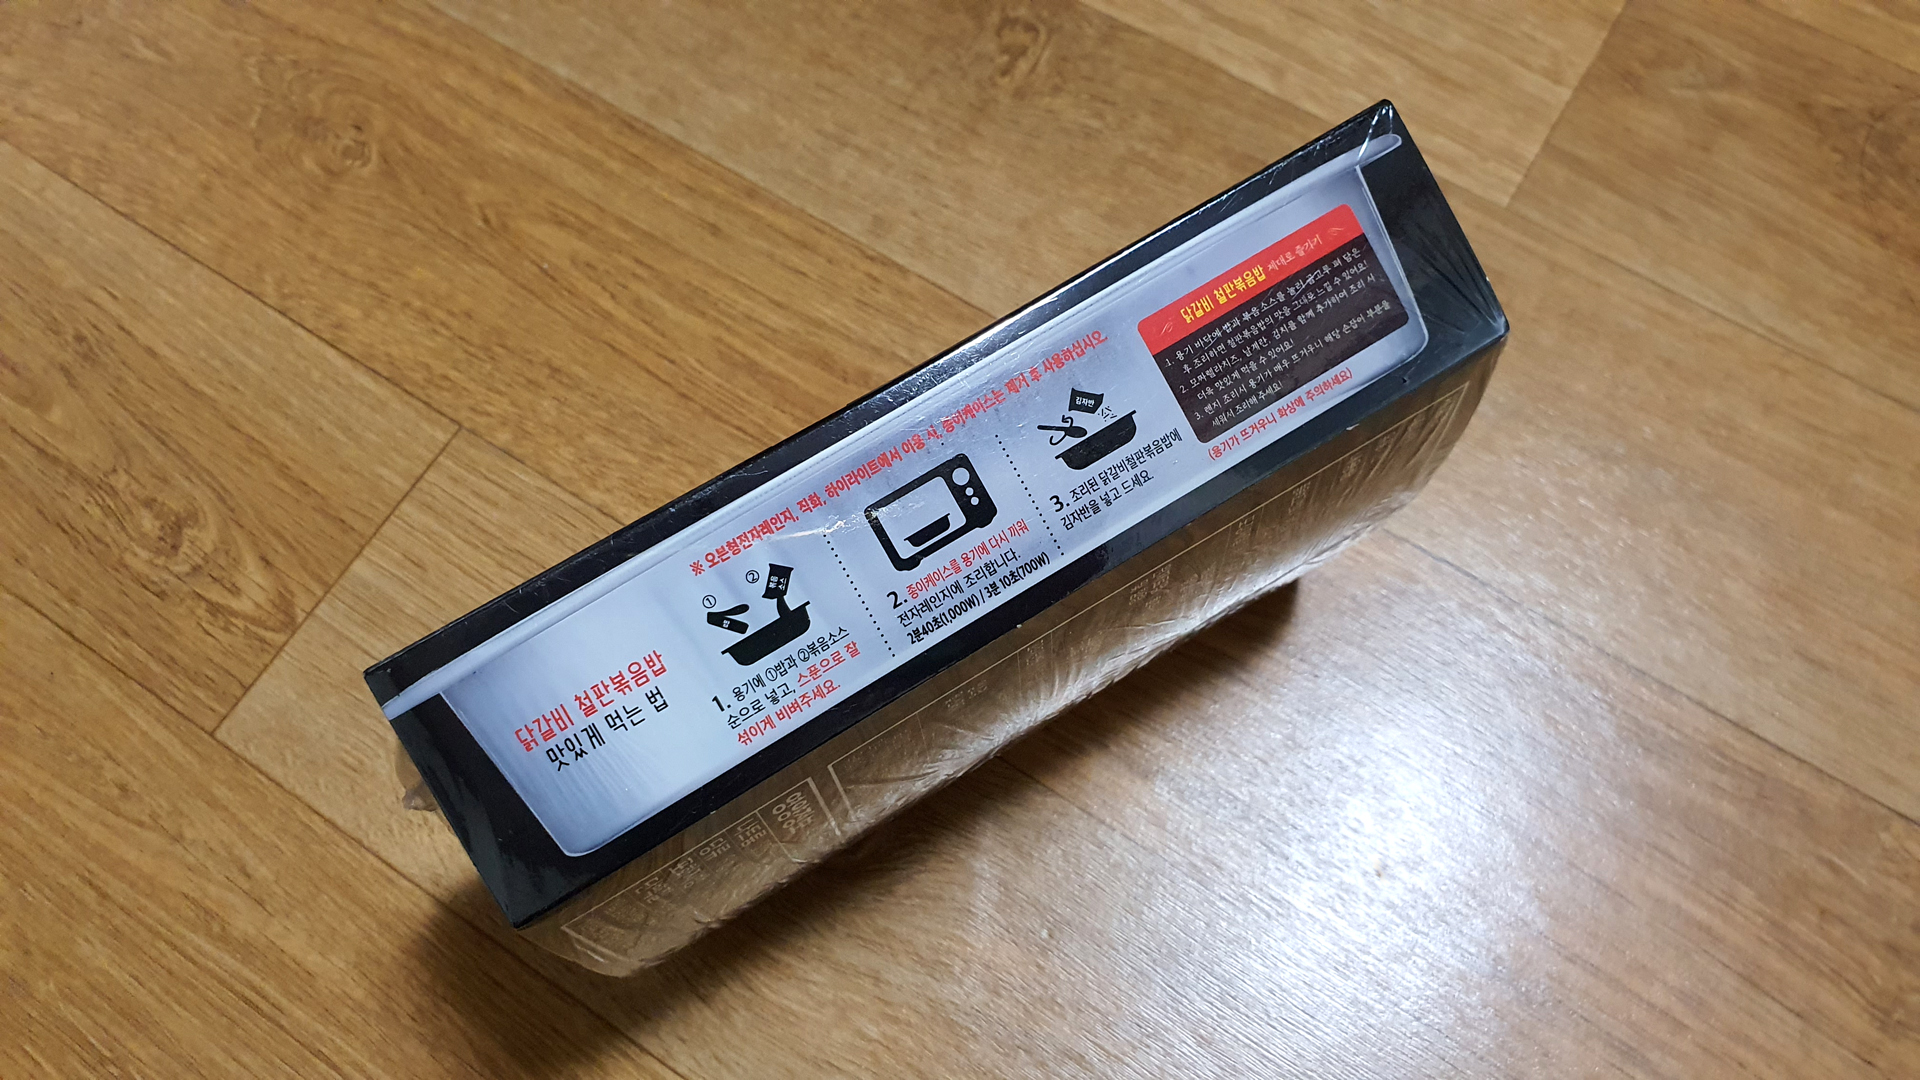
닭갈비 철판 볶음밥 맛있게 먹는 법이 나와 있습니다.
저는 이 방법대로 그대로~! 따라했습니다.
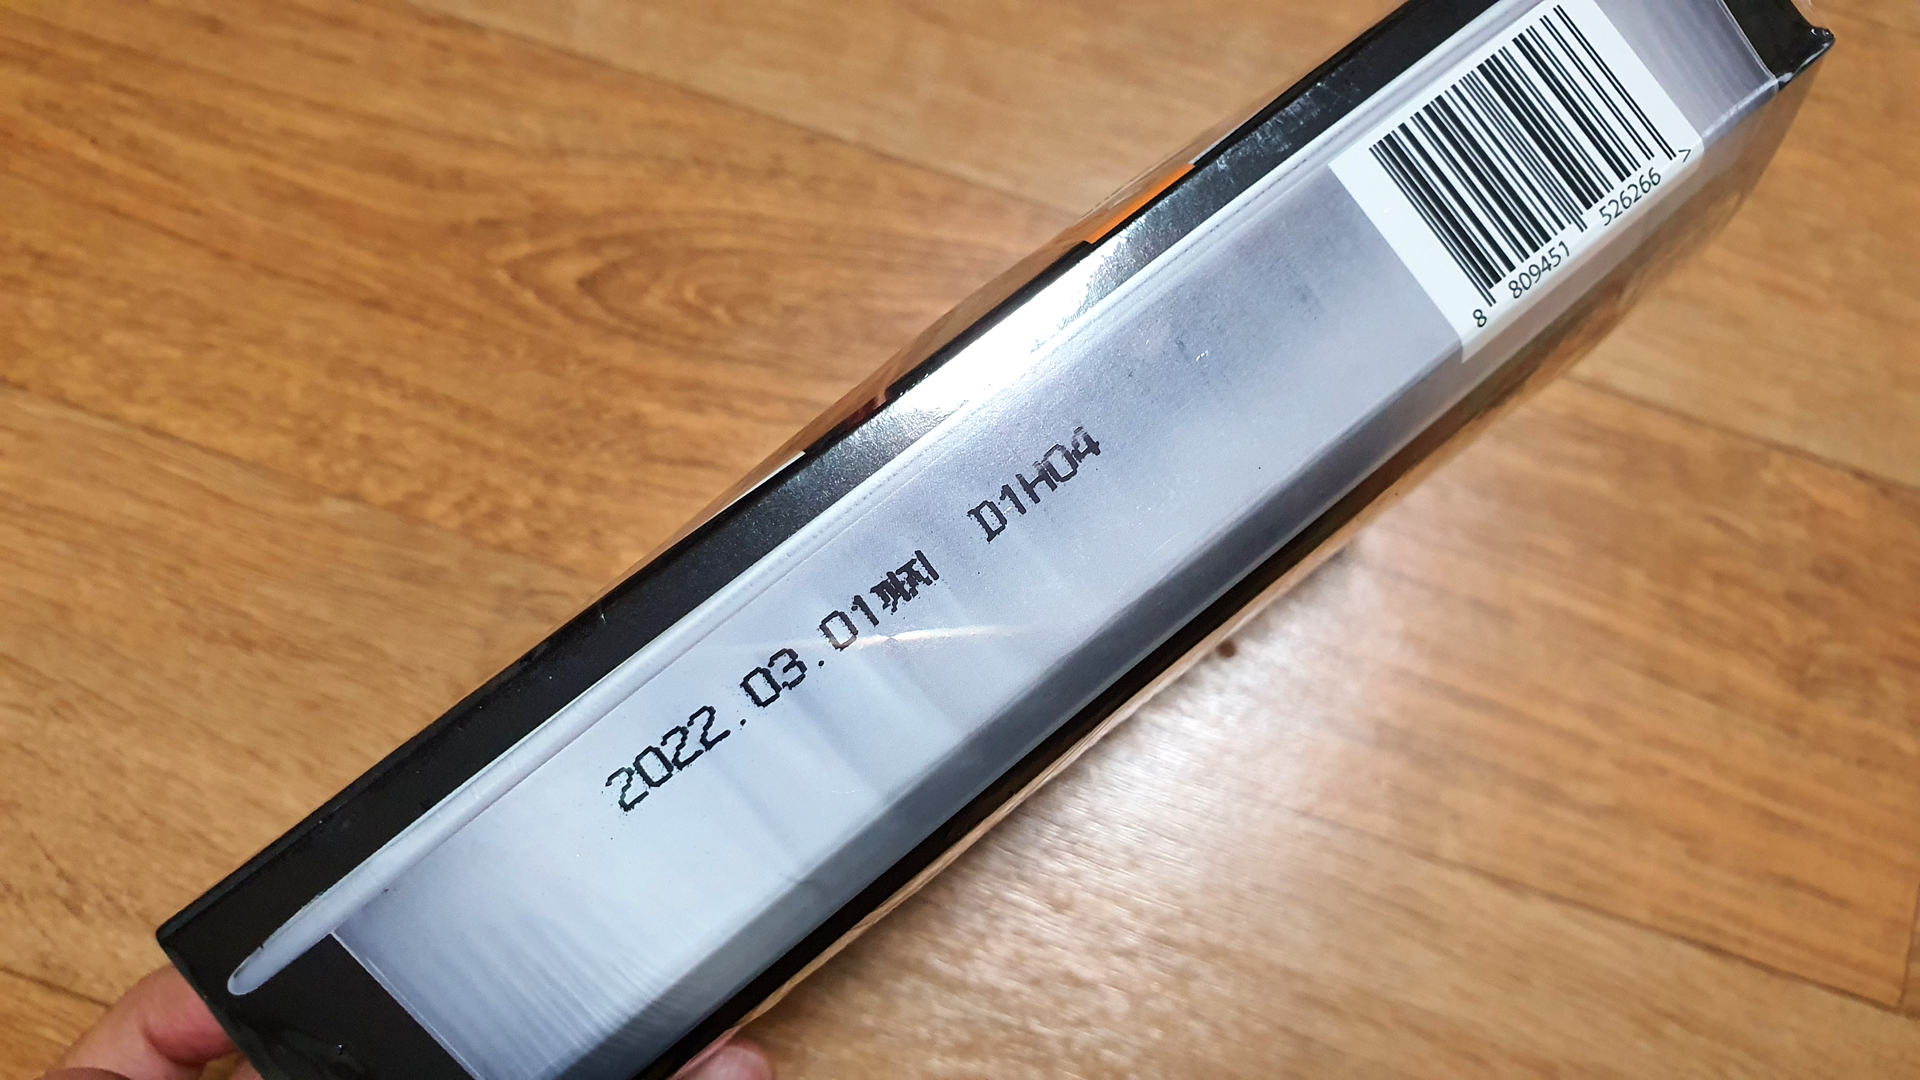
유통기한은 2022년 03월 01일까지입니다.
넉넉하지요?^^
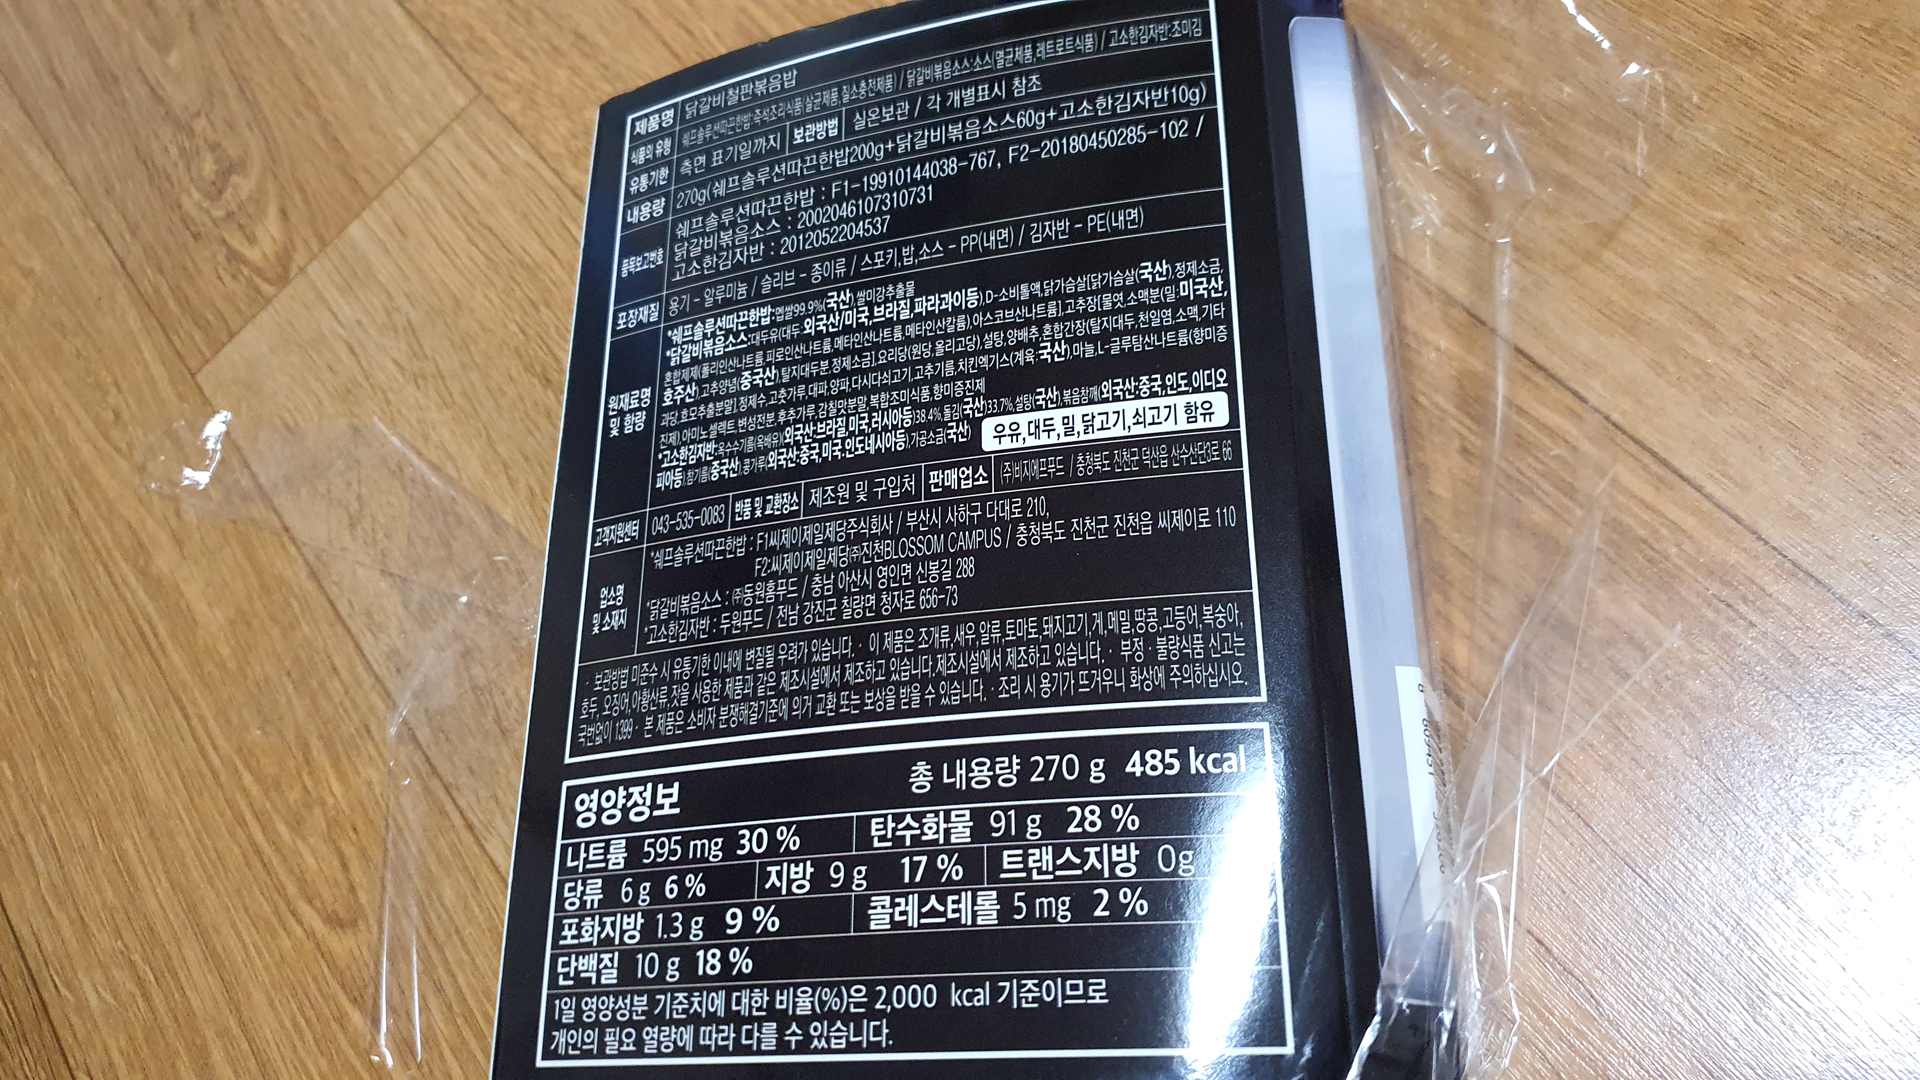
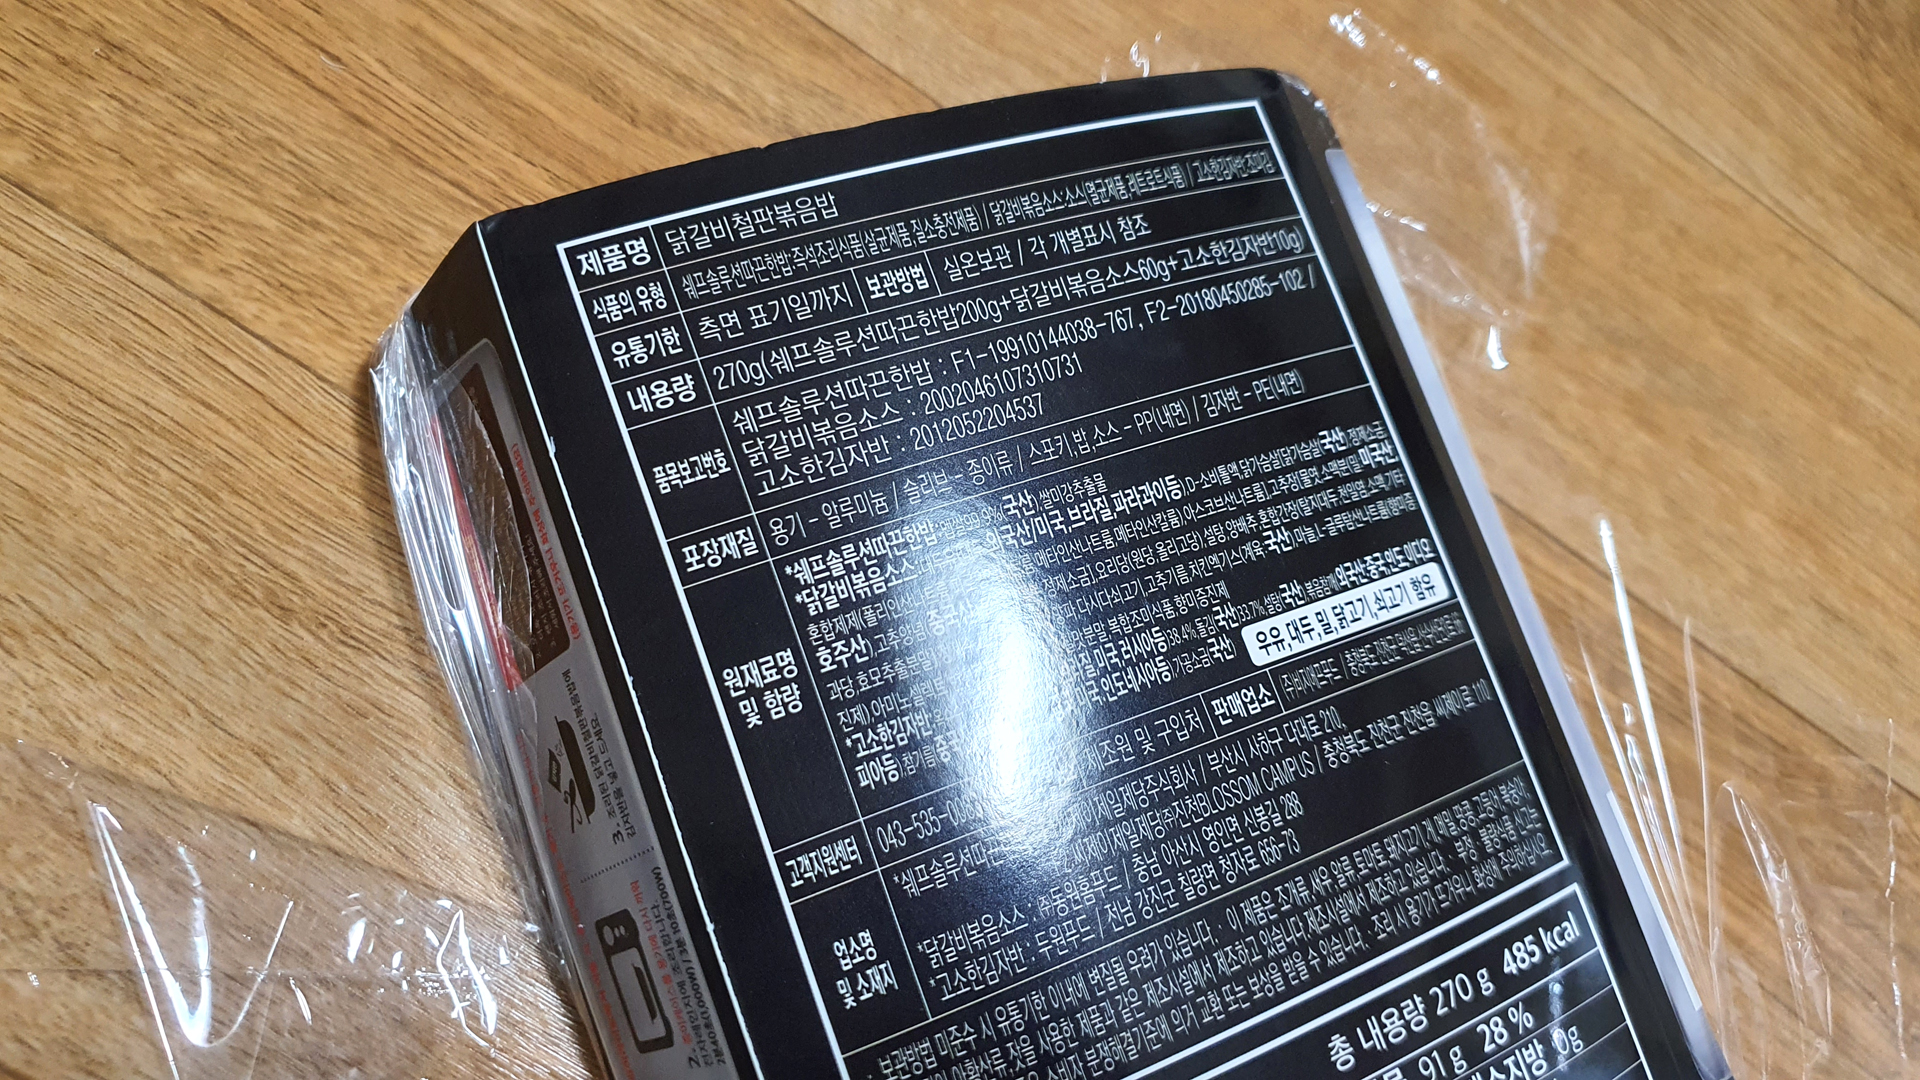
닭갈비 철판 볶음밥 총 내용량은 270g, 485칼로리입니다.
영양정보도 나와 있으니 확인하세요~
종이 케이스에 왠 손잡이가 있는가 처음에는 몰랐는데,
닭갈비철판볶음밥 맛있게 먹는 방법 따라하다보니 알게 되었습니다.
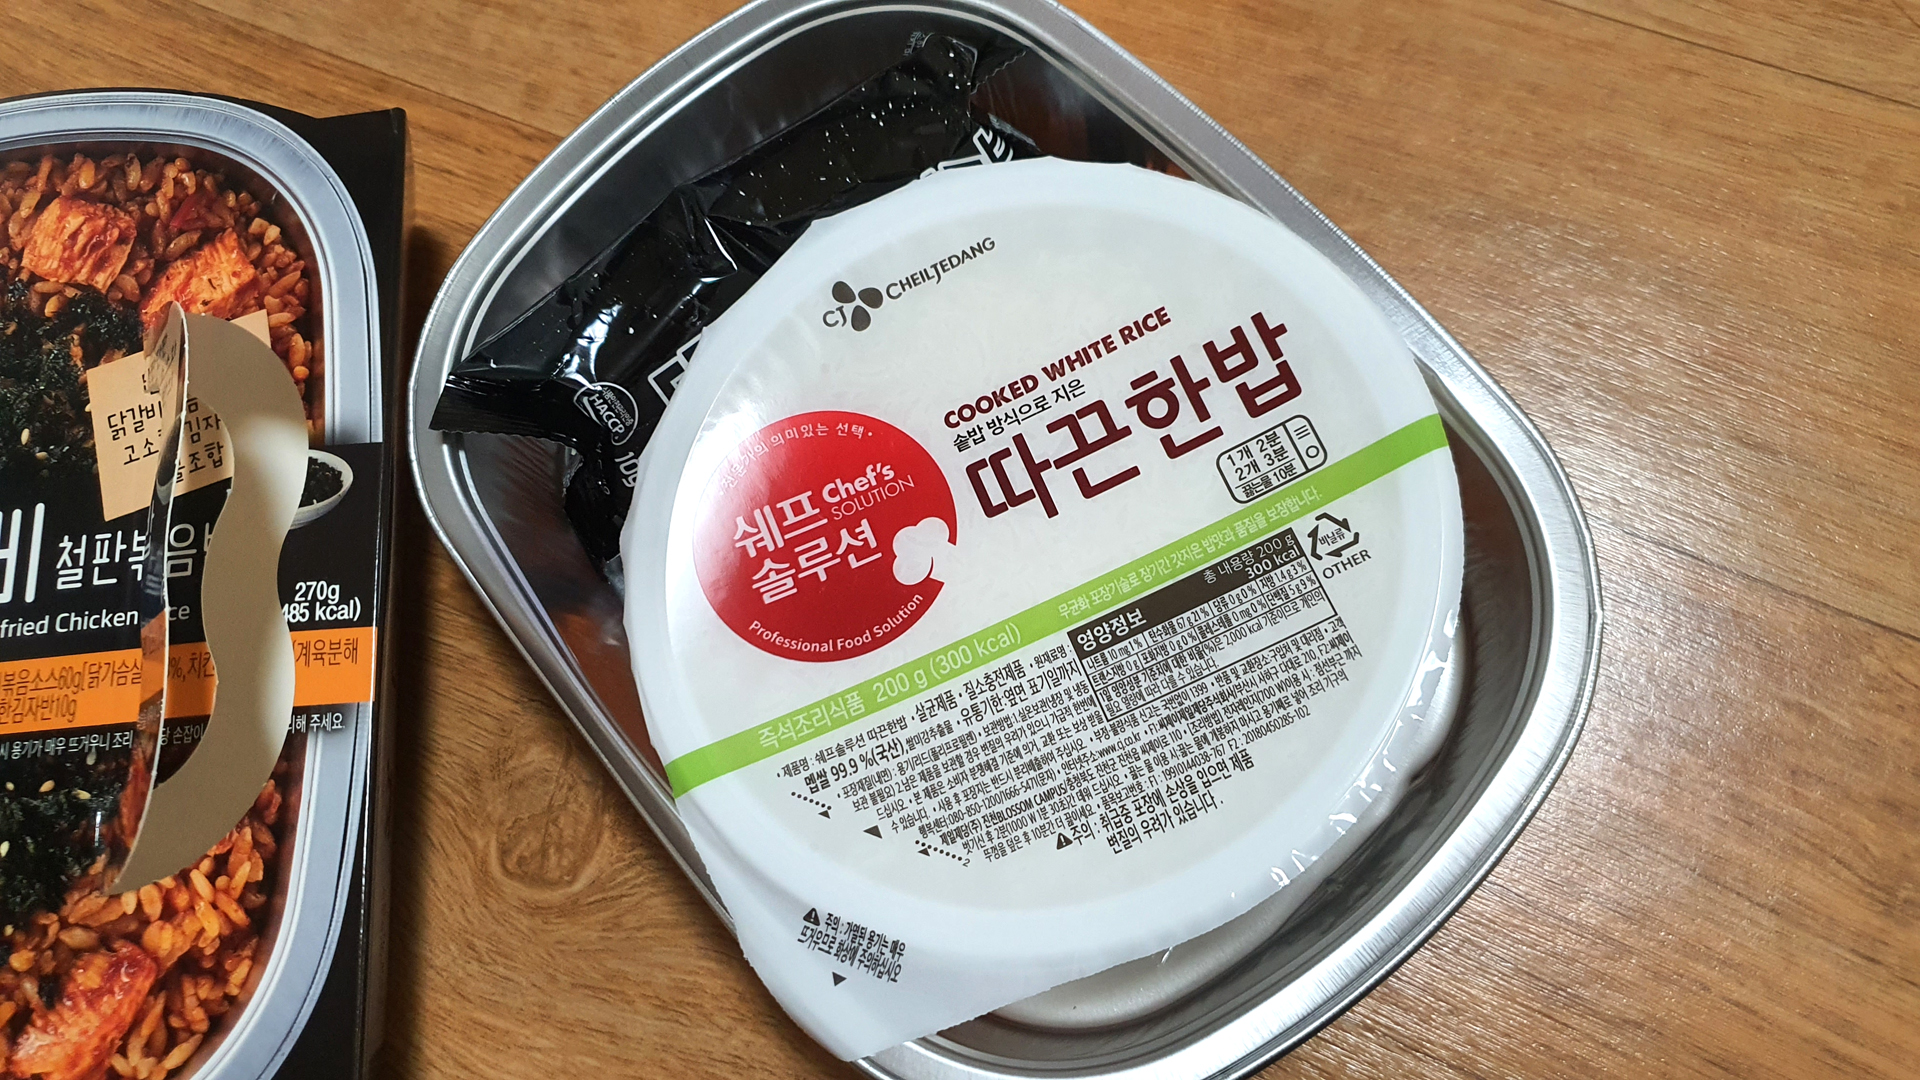
닭갈비철판볶음밥 종이케이스를 벗겨 냈습니다.
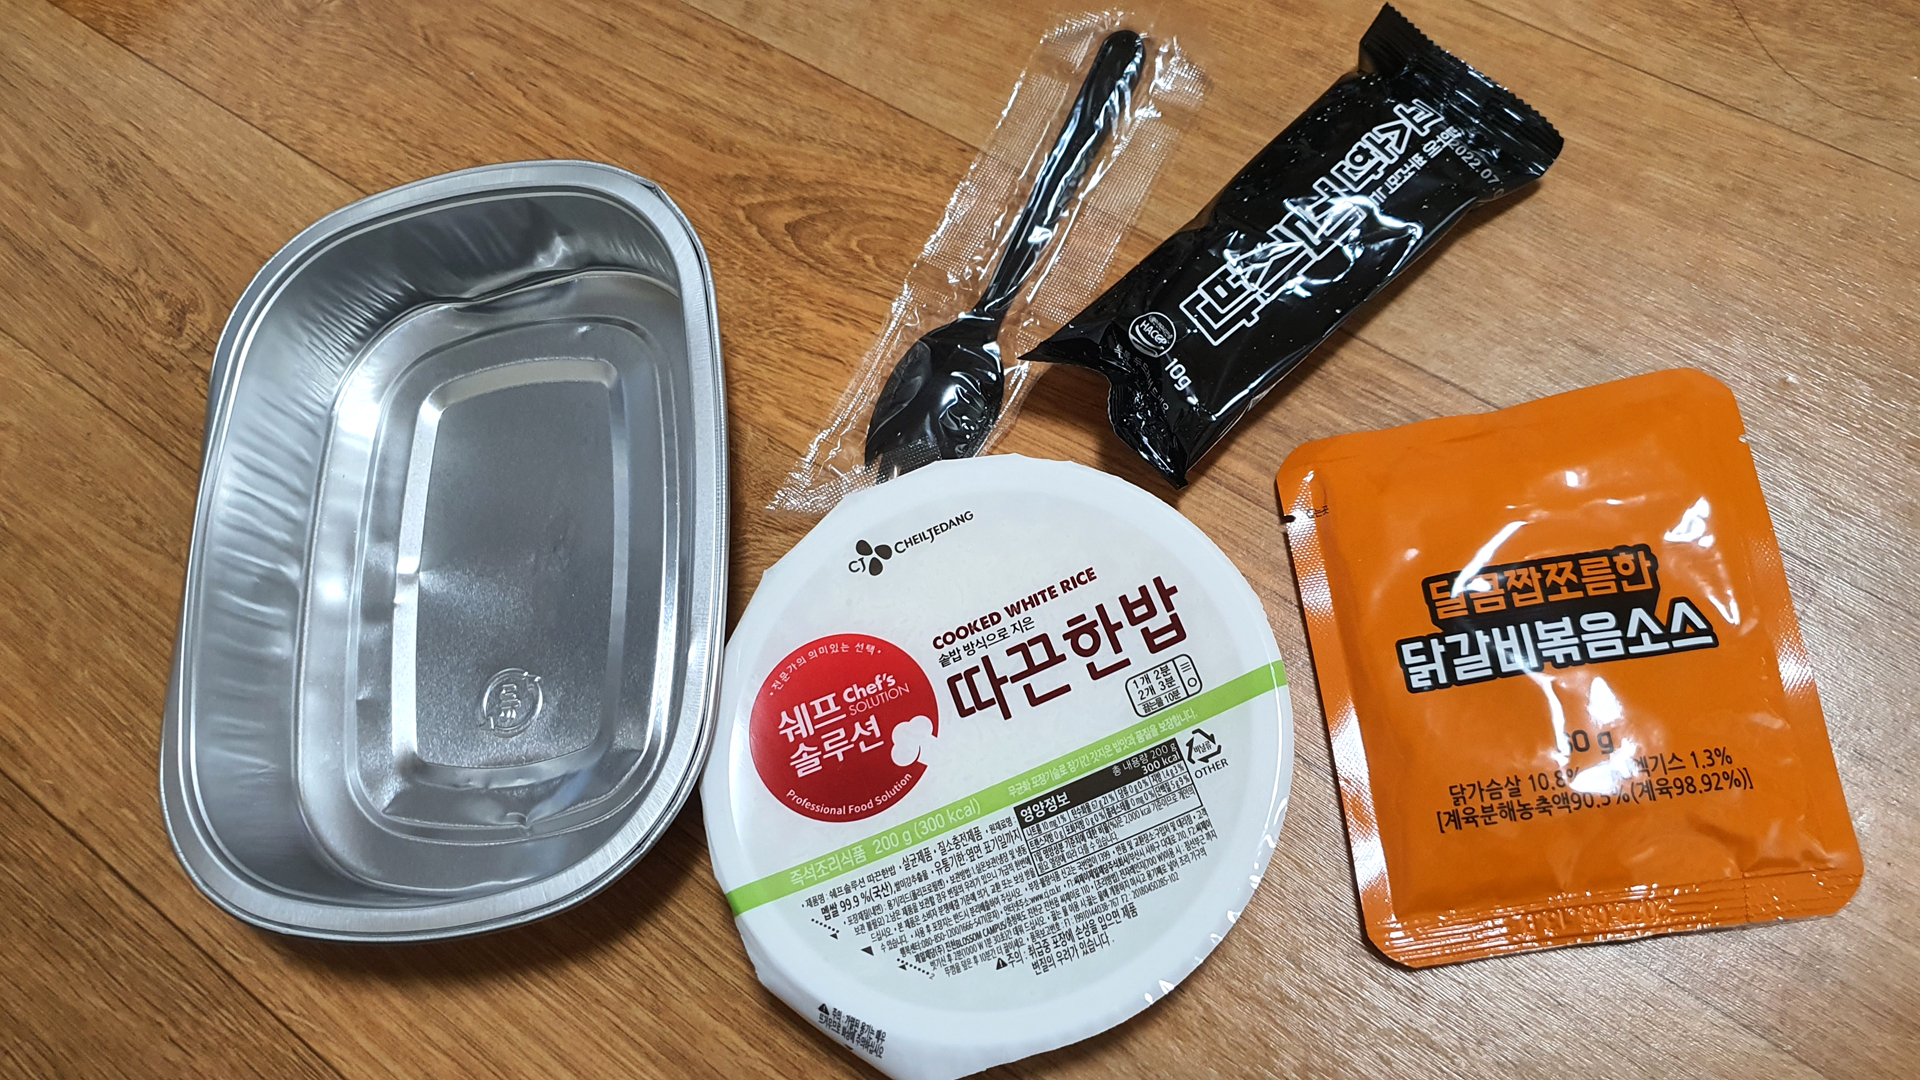
쉐프솔루션 따끈한 밥과 달콤짭쪼름한 닭갈비볶음소스, 고소한 김자반, 포크가 들어 있습니다.
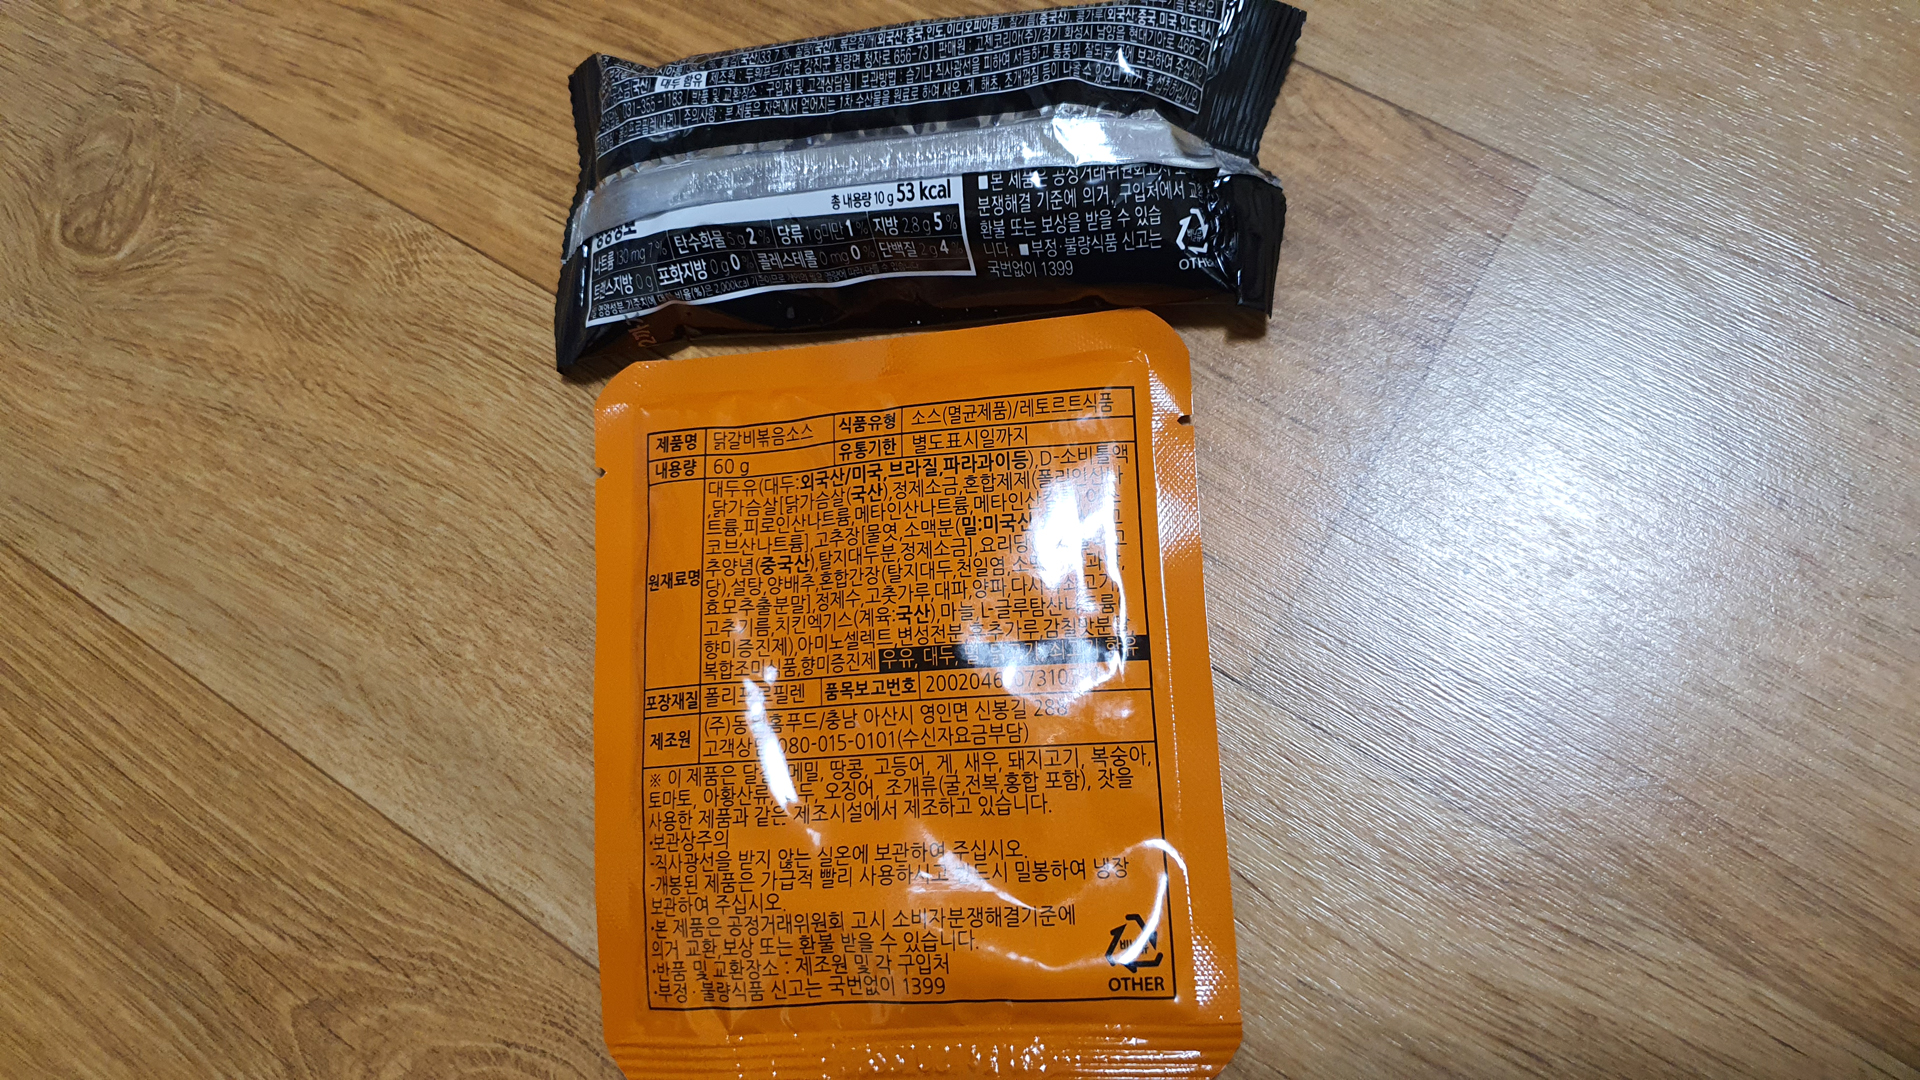
닭갈비볶음소스와 고소한 김자반 원재료명도 나와 있습니다.
닭갈비 철판 볶음밥 맛있게 먹는 방법은
먼저~!
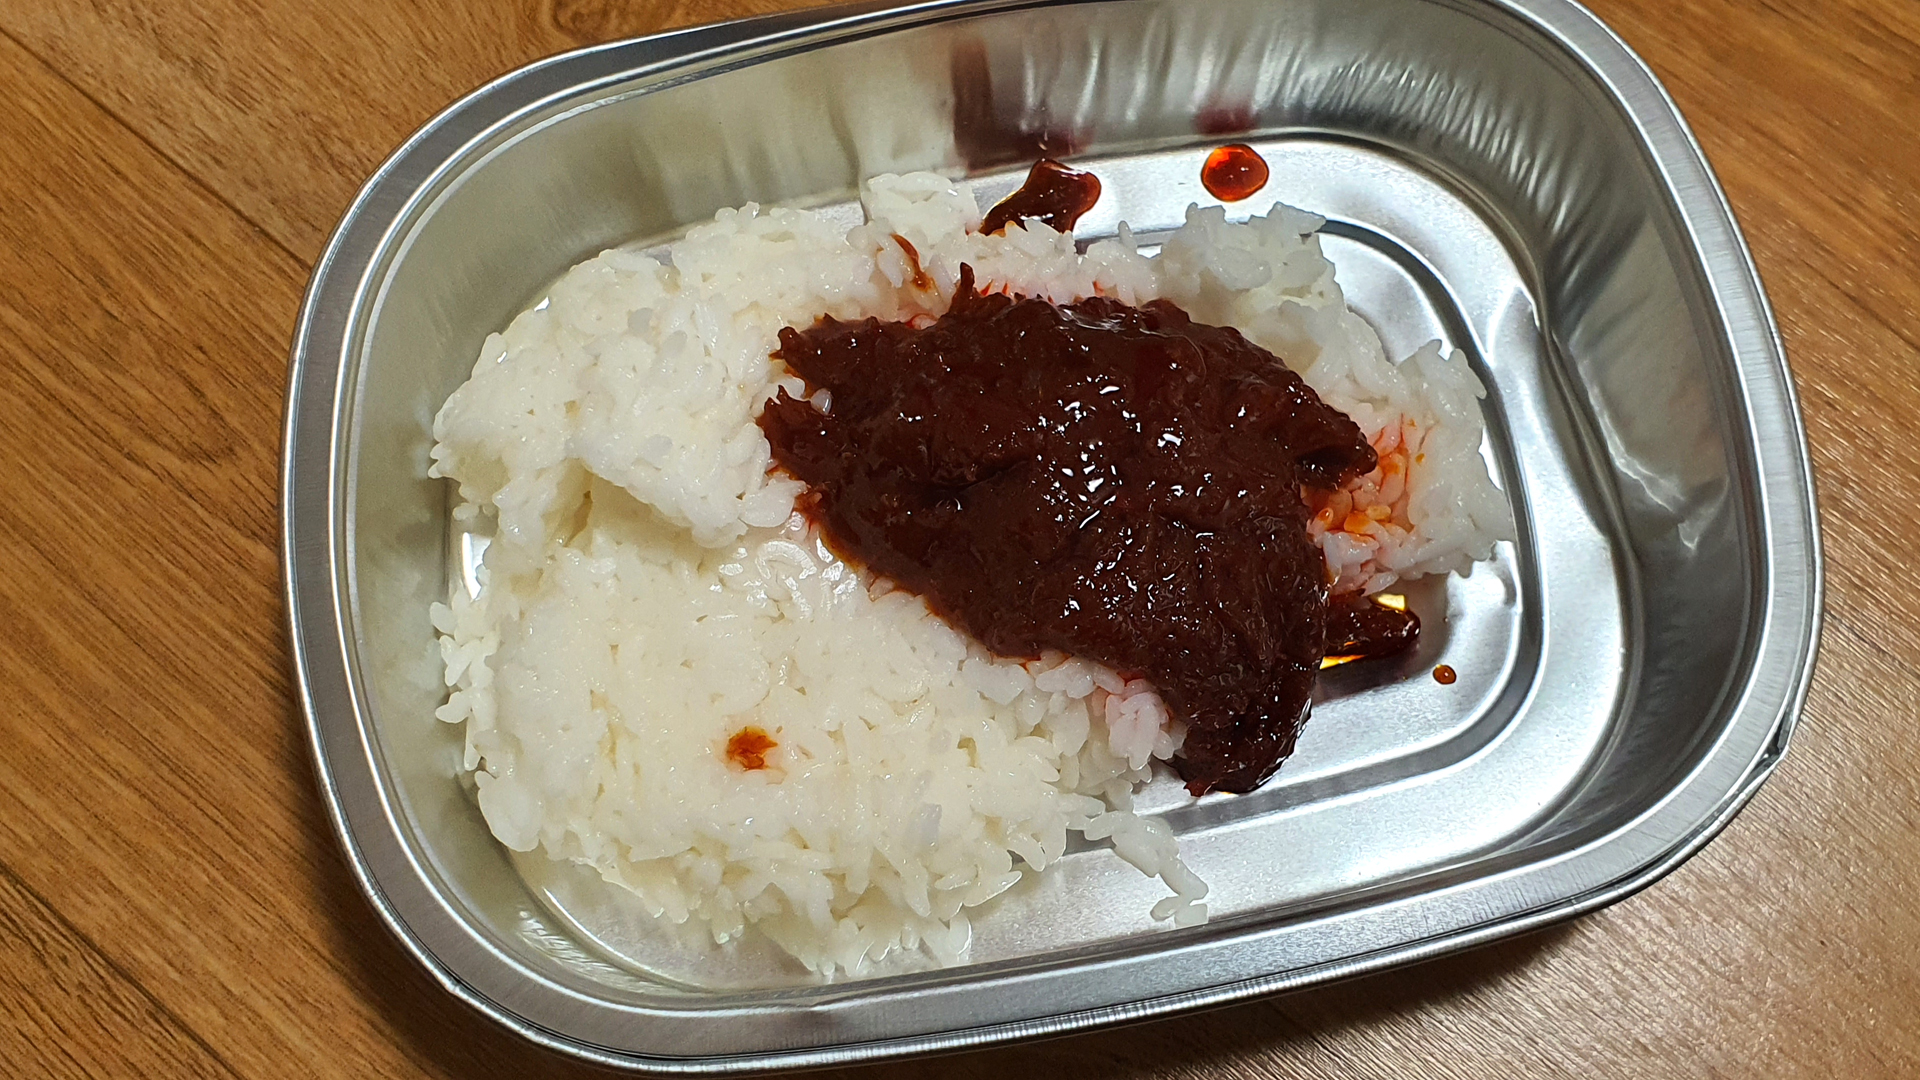
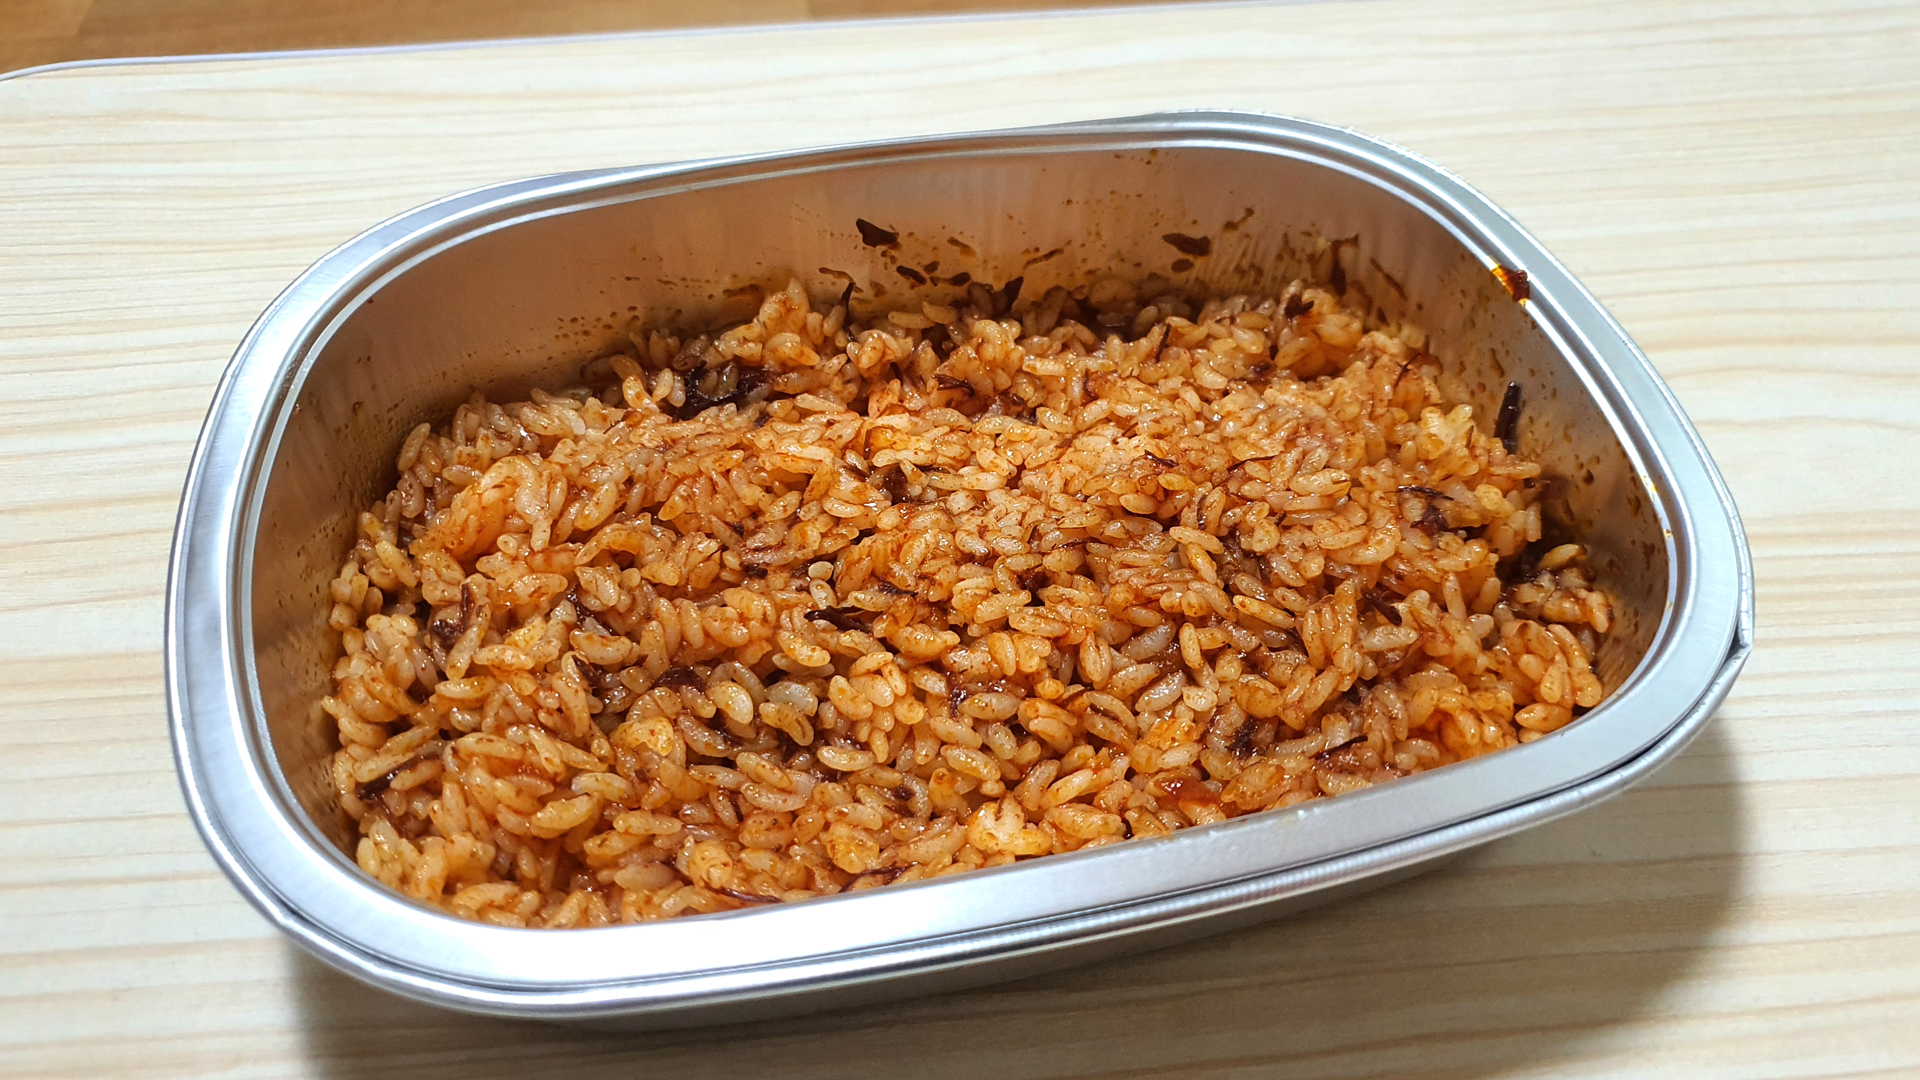
용기에 따끈한 밥과 닭갈비 볶음소스를 넣어줍니다.
여기서 조금 실망 했어요.
포장지의 그림과 너무 다르잖아요...ㅠㅠ
닭갈비가 큼지막하게 들어가 있을 줄 알았죠........................ㅠ
그리고 스푼으로 잘 섞이게 비벼줍니다.
골고루 잘 비벼졌죠?
종이케이스를 용기에 다시 끼워 전자레인지에 돌려줍니다.
1000W는 2분 40초를, 700W인 경우에는 3분 10초를 돌려줍니다.
종이케이스 손잡이가 왜 있는가 했더니~ 이것 때문이었네요.
전자레인지에 3분 10초간 돌렸습니다!!~~
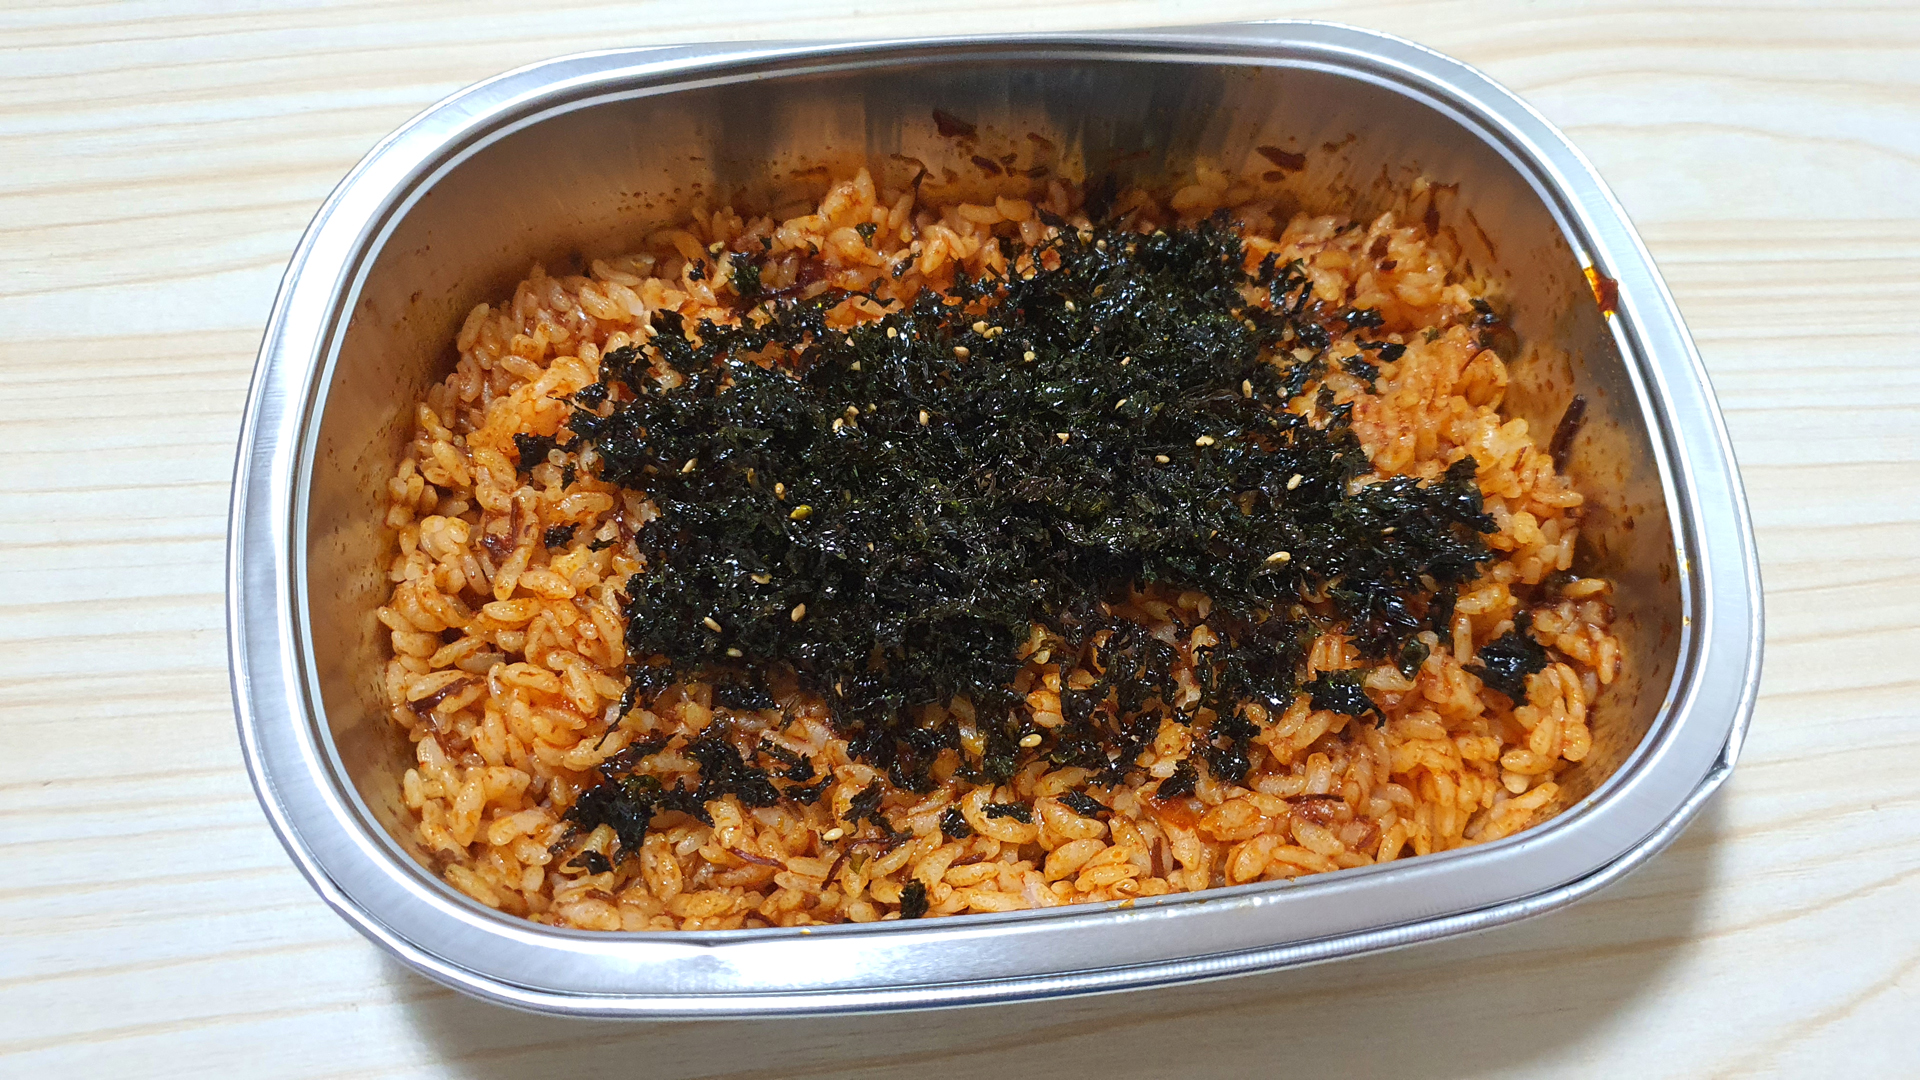
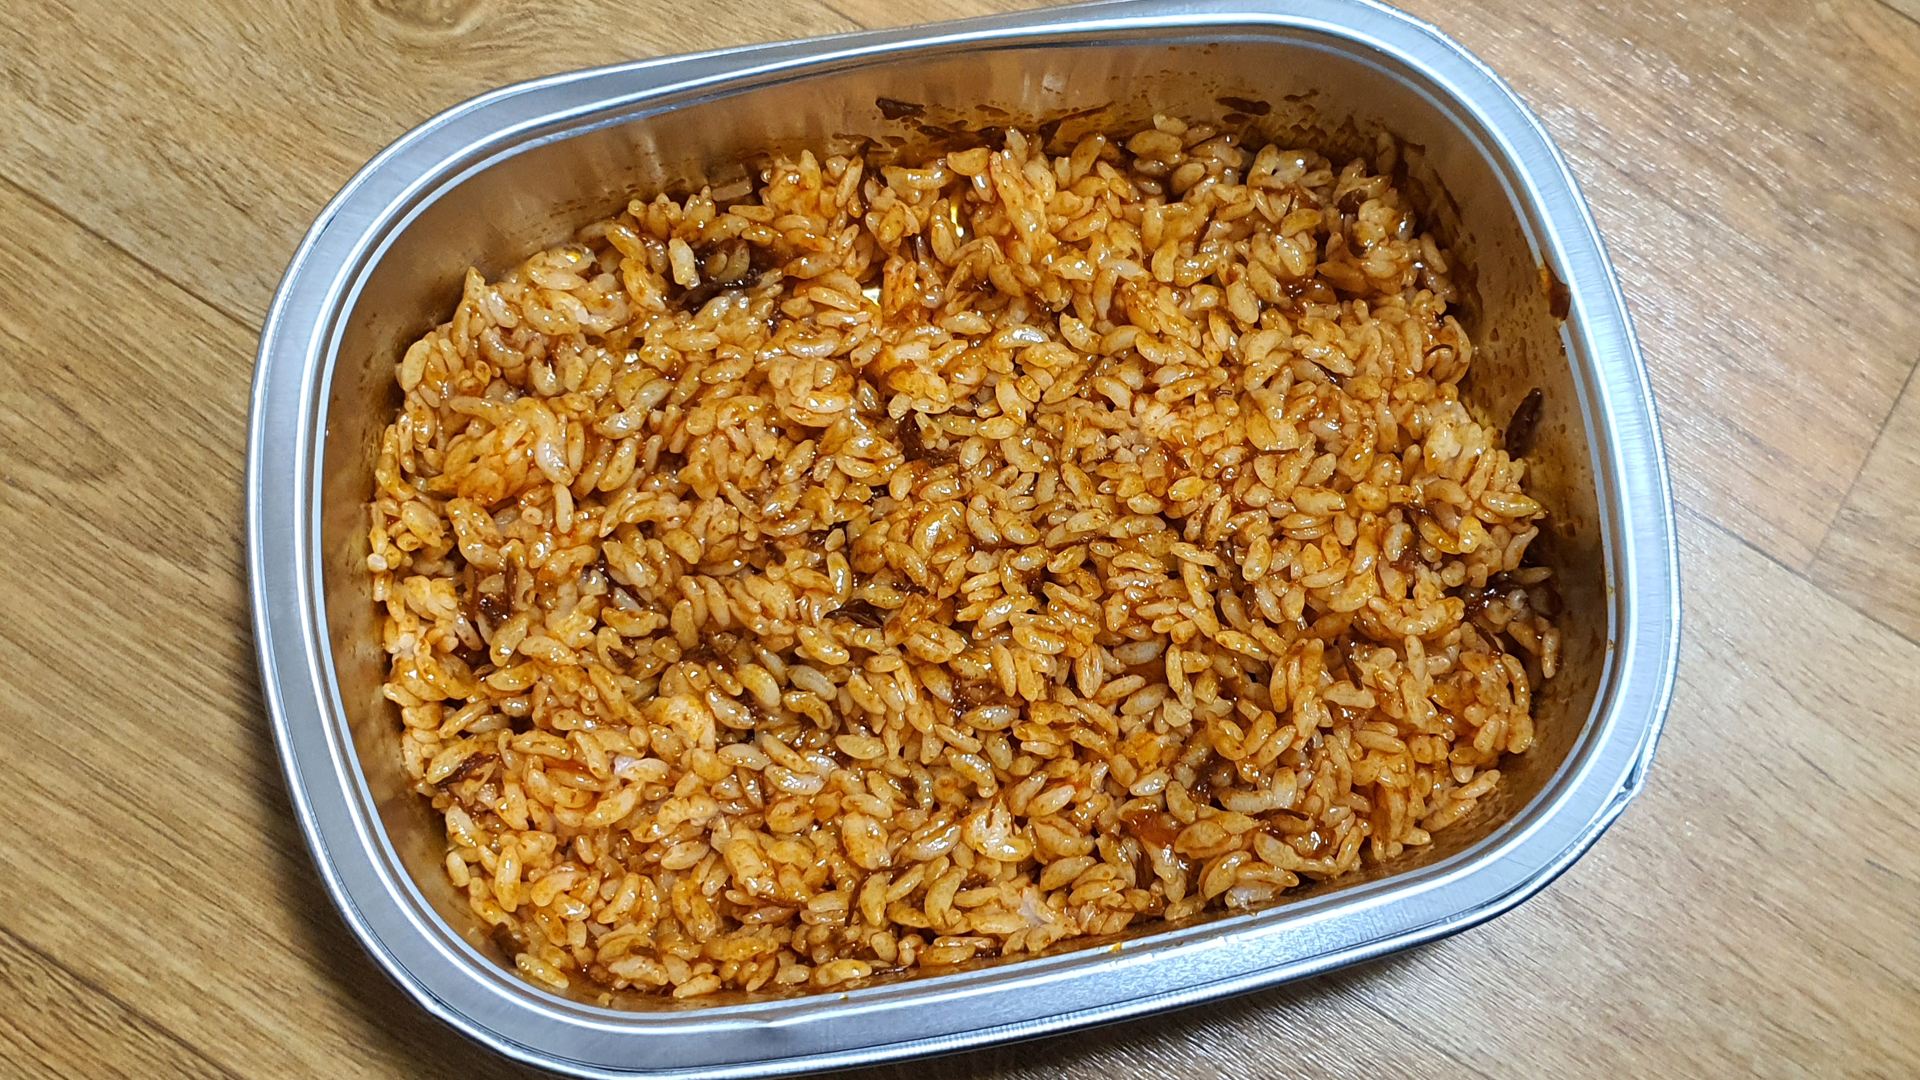
마지막으로 조리된 닭갈비 철판 볶음밥에 김자반을 넣으면 됩니다.
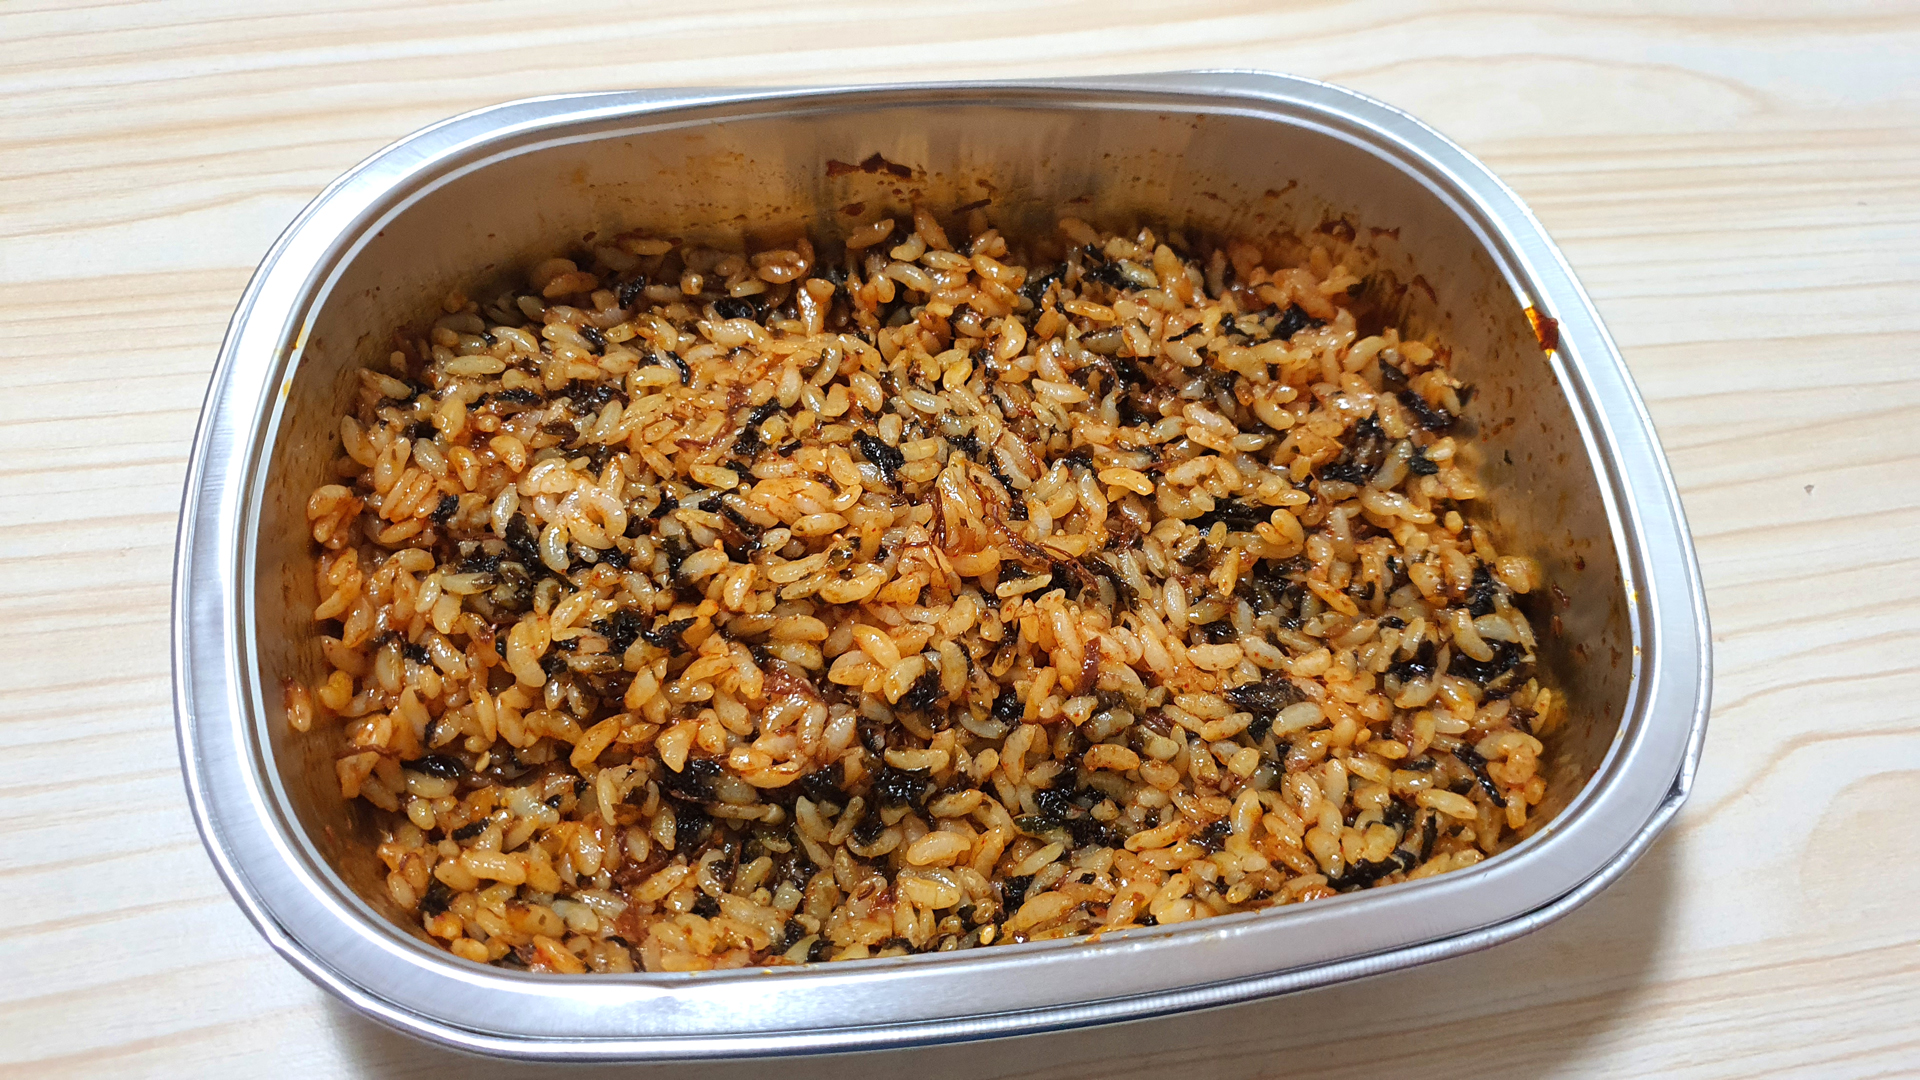
김자반도 골고루 섞어줬습니다.
닭갈비철판볶음밥의 최종 비쥬얼!!~~~
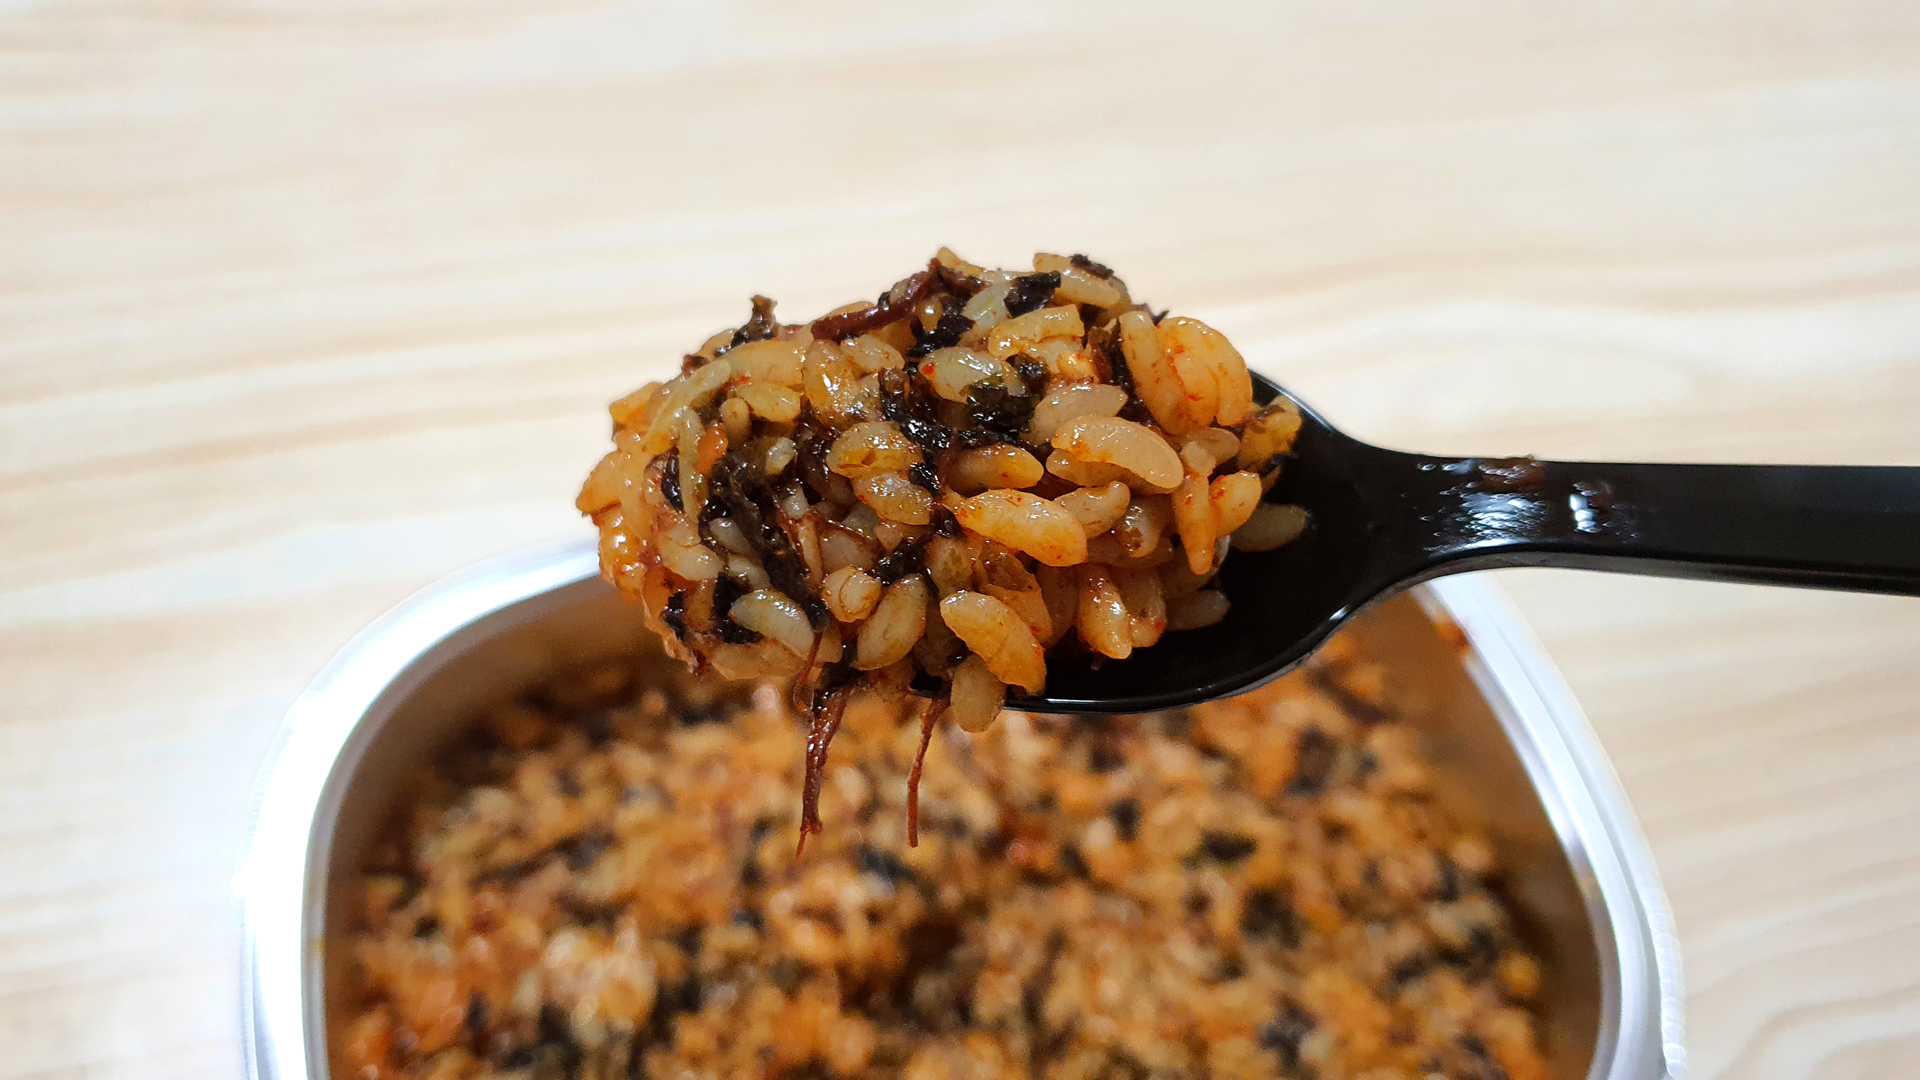
닭갈비가 큼지막하게 들어가지 않아서 식감 면에서는 살짝 아쉬웠지만,
그래도 맛은 괜춘했습니다.
한끼 배부르게 잘 먹었네요~~~~